iPhone 6 Tear Down

Now it’s time for
iPhone 6. Followings are some technology specifications:

1. Apple A8 processor with 64-bit
architecture
2. M8 second-generation motion
coprocessor
3. 16, 64, or 128 GB onboard storage capacity
4. 4.7-inch 1334x750 pixels (326 ppi) Retina HD
display
5. 8 MP iSight camera (with 1.5µ pixels and phase-detection autofocus) and
a 1.2 MP Face Time camera
6. Touch ID home button fingerprint sensor, barometer, 3-axis gyro,
accelerometer, ambient light sensor
7. 802.11a/b/g/n/ac Wi‑Fi + Bluetooth 4.0 + NFC + 20-band LTE
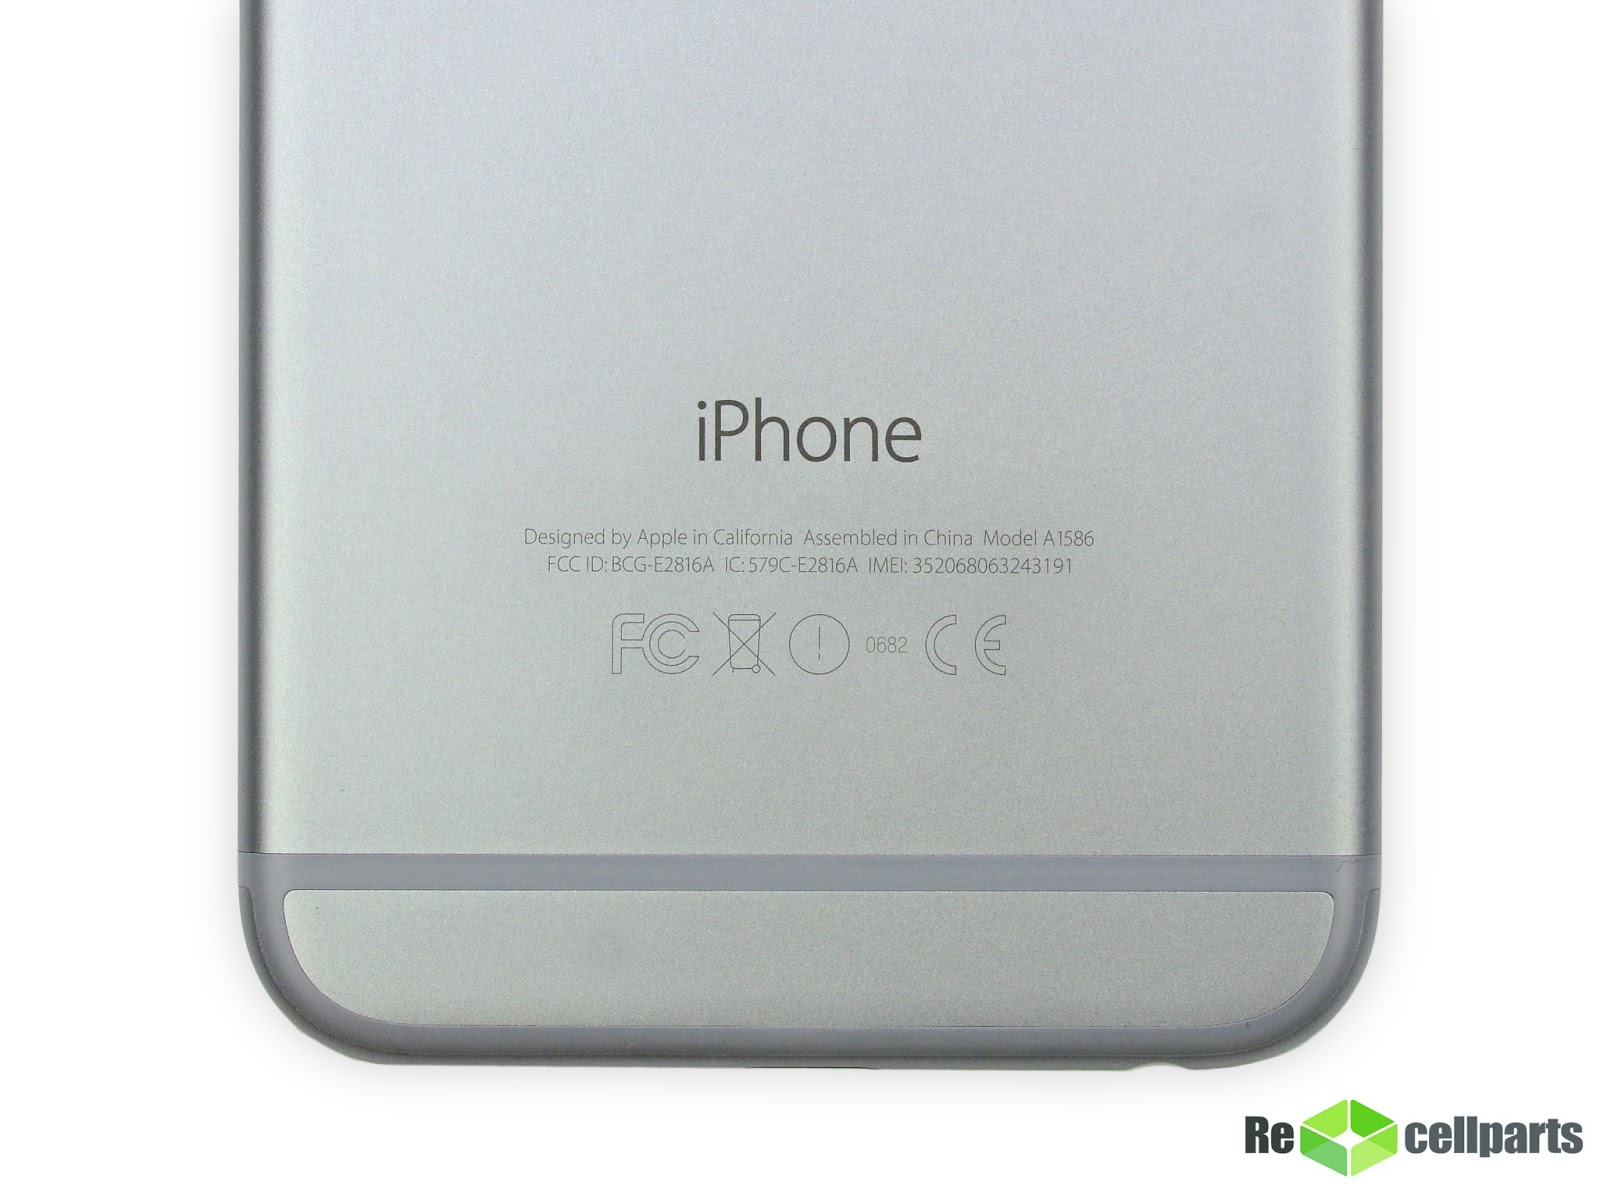
Step 1
Apple has branded
this particular iPhone 6 as model A1586.
The camera bump,
as it's widely known, is prominently visible along the top of the iPhone 6.
Apple chose improved optics in exchange for a lens assembly that is slightly
thicker than the rest of the phone.
Step 2
Proceed to remove
the Pentalobe screws from the iPhone 6.
The rounded corner
design of the iPhone 6 do not have the Lightning connector and Pentalobe screws,
is very likely to first generation of iPhone.


Step 3
With the front
panel assembly open, take a peek deeply inside the iPhone 6.


Step 4
While there may
not be any Phillips screws on the outside of this phone, there are certainly
Phillips screws on the inside. Use screwdriver set can handle any type of screw
this phone dishes out.
With screwdriver,
tackle the metal bracket screws that secure the front panel assembly in place.

Step 5
Peel the home
button off from the front panel assembly with ease—though, as ever, the
surrounding rubber gasket is difficult to tear if you don't have the steady
hands of a tech surgeon.

Step 6
Much like the iPhone
6 Plus, the front-facing camera and earpiece speaker reside on the front panel
assembly.
Pull them out and
line them up for inspection.


Step 7
So far, the
overall construction of this "small" iPhone 6 is as much as for iPhone
6 Plus.
Metal plate and
the front panel assembly it covers are perfect examples. The design mirrors
that of iPhone 6 Plus, which in this case is a definite improvement.


Step 8
Battery Pull Tabs
- Pulled correctly!!! Use a pry tool to coax the battery out and save you from
the hassle (and potential hazard).
This adhesive is
similar to a 3M Command adhesive; when you pull the tab correctly, it shears
the entire strip off.


Step 9
The iPhone 6
features an 1810 mAh, 3.82 V Lithium-ion Polymer battery with an energy rating
of 6.91 Wh.
Turning it over,
the rating improves to 7.01 Wh. Perhaps the engineers were able to squeeze an
extra 0.1 Wh in the battery after confirming the text on the front.
Apple preaches
that this 28-gram (3.75" x 1.5" x 0.13") power pack will let you
talk for up to 14 hours on 3G and offers 250 hours of standby time.
This is a fair bit
smaller than the iPhone 6 Plus's 11.1 Wh, 2915 mAh battery—but still a notable leap
from the 1560 mAh unit in the iPhone 5s.
This battery seems
to have an identity crisis. On the front are markings of Apple South Asia
(Thailand) Limited and Apple Japan. On the back, it says it's actually made in
Huizhou, China.


Step 10
The rear-facing
camera is easily removed with a pair of tweezers.
Though it lacks
the fancy optical image stabilization of the camera in the iPhone 6 Plus, this
unit shares virtually all of its other specs: 8 megapixels, f/2.2 aperture,
True Tone flash, and phase-detection autofocus.
It also features
electronic image stabilization, which aims to mimic the effects of OIS (optical
image stabilization) using image processing techniques.


Step 11
Tweeze out antennas
faster than you can remove puny parts from an intensive board.
Master the
operation and quickly move on.
Up next is the
logic board. EMI shields are dressed quiet elegantly, and check down to see
what lies beneath the veil.


Step 12
The front side of
the logic board:
-Apple A8 APL1011
SoC + SK Hynix RAM as denoted by the markings H9CKNNN8KTMRWR-NTH (We presume it
is 1 GB LPDDR3 RAM, the same as in the iPhone 6 Plus)
-Qualcomm MDM9625M
LTE Modem
-Skyworks 77802-23
Low Band LTE PAD
-Avago A8020 High
Band PAD
-Avago A8010 Ultra
High Band PA + FBARs
-SkyWorks 77803-20
Mid Band LTE PAD
-InvenSense MP67B
6-axis Gyroscope and Accelerometer Combo


Step 13
More ICs on the
front side of the logic board:
-Qualcomm QFE1000
Envelope Tracking IC
-RF Micro Devices
RF5159 Antenna Switch Module
-SkyWorks 77356-8
Mid Band PAD
-Bosch Sensortec
BMA280

Step 14
Back side of the
logic board:
-SanDisk SDMFLBCB2
128 Gb (16 GB) NAND Flash
-Murata 339S0228
Wi-Fi Module
-Apple/Dialog
338S1251-AZ Power Management IC
-Broadcom BCM5976
Touchscreen Controller
-NXP LPC18B1UK ARM
Cortex-M3 Microcontroller (also known as the M8 motion coprocessor)
-NXP 65V10 NFC
module + Secure Element (likely contains an NXP PN544 NFC controller inside)
-Qualcomm WTR1625L
RF Transceiver

Step 15
More ICs await us
on the back of the logic board:
-Qualcomm WFR1620
receive only companion chip. Qualcomm states that the WFR1620 is "required
for implementation of carrier aggregation with WTR1625L."
-Qualcomm PM8019
Power Management IC
-Texas Instruments
343S0694 Touch Transmitter
-AMS AS3923 NFC
Booster IC designed to “improve performance of existing NFC controllers for
challenging environments such as mobile and wearables” and also delivers “less
restrictive antenna design requirements”.
This chip is an
NFC frontend to improve performance in noisy environments using 'active peer to
peer bit rates [up to] 212kb/s.'
Cirrus Logic
338S1201 Audio Codec

Step 16
Remove the
vibrator assembly- it's new and improved.
Apple keeps on changing
this part's design:
iPhone 4
(counterweight)
iPhone 4S (linear
oscillating)
iPhone 5/5s
(counterweight)
Based on
appearances, we're guessing that Apple went with a linear oscillating design in
this rendition of the iPhone.


Step 17
This year's model
is sporting a new design for the speaker assembly.
Since markings are
scarce, maybe this is just a minor update from the iPhone 5s speaker.


Step 18
Headphone jack and
Lightning connector-
Two have now
become one assembly, residing on a single cable.
This new unity
means that you can't replace one without the other—which is bad news if you
have malfunctioning ports.


Step 19
Peel up the
delicate cable assemblies with tweezers, such as those associated with power
button and volume buttons.
Just like that,
the button assemblies are out of their iPhone shell.
These assemblies
look very similar to the ones found in the iPhone 6 Plus.


Step 20
Continuing the
trend from the iPhone 5 series, the display assembly comes out of the phone
first, simplifying screen repairs.
The battery is
straightforward to access. Removing it requires a proprietary pentalobe
screwdriver and knowledge of the adhesive removal technique, but is not
difficult.
The fingerprint
sensor cable has been re-routed, fixing a significant repairability issue with
the iPhone 5s and making the phone much safer to open. (On the 5s, the cable is
easily torn if a user is not careful while opening the phone.)

The iPhone 6 still
uses proprietary Pentalobe screws on the exterior, requiring a specialty
screwdriver to remove.
没有评论:
发表评论